Every machine shop makes a bad part eventually. A bore comes out 0.002 over, a thread gage will not go, or a plated part comes back with the wrong finish. The trouble comes later, when nobody can say what happened to the part, who decided it was acceptable, or whether the same problem showed up on the next lot.
A nonconformance report, usually called an NCR, is the record that answers those questions. This guide covers what an NCR should contain, how to choose a disposition, and how to run the process so it prevents repeat problems instead of filling a binder.
What a Nonconformance Report Is
A nonconformance is any product or process result that does not meet a requirement. The requirement can come from the drawing, the purchase order, or a customer specification. A nonconformance report documents the problem, holds the affected parts so they do not move forward by accident, and records the decision about what to do with them.
Quality standards such as ISO 9001 and AS9100 expect you to identify nonconforming output, control it, and keep a record of the action taken. Our guide to AS9100 traceability requirements explains how NCRs fit into the wider set of records auditors ask for.
When to Write an NCR
Write an NCR whenever a part, a lot, or a purchased item does not meet a requirement and you need to decide what happens to it. Common triggers in a job shop include:
- In-process inspection finds a feature out of tolerance. The operator or inspector catches it before the job moves on.
- A first article fails. A characteristic on the first piece is out, and the setup or program needs to change before production runs.
- Final inspection rejects parts. The parts are finished but cannot ship as they are.
- Outside processing comes back wrong. Plating thickness, heat treat hardness, or anodize color does not match the spec.
- A customer returns parts. A problem is found after delivery.
What a Good NCR Should Contain
An NCR does not need to be long, but it needs to be complete. A useful report usually includes:
- Identification. NCR number, job number, part number and revision, customer, and purchase order.
- Quantity. How many parts are affected, how many were inspected, and how many are still in process.
- The requirement. The drawing callout or specification that was not met, quoted exactly.
- The actual result. The measured value or observed condition, with the gage used and photos where they help.
- Where it was found. The operation, the machine, and who found it.
- Containment. What was done right away to hold the parts and check other parts that might be affected.
- Disposition. The decision about what to do with the parts, who made it, and any customer approval.
- Root cause and corrective action. Why it happened and what will change so it does not happen again.
- Signatures and dates. Who reported it, who reviewed it, and who closed it.
Writing the requirement and the result side by side matters. “Bore oversize” is hard to review later. “Bore 0.5000 +0.0005/-0.0000, measured 0.5021 with a bore gage” tells the next reviewer exactly what happened.
Step 1: Contain the Problem First
Before anyone argues about the cause, stop the bad parts from moving. Tag or segregate them, mark the job as on hold, and check whether other parts from the same setup, lot, or machine could have the same problem. If material or an outside process caused it, check other jobs from the same lot or supplier order.
Step 2: Choose a Disposition
The disposition is the decision about what happens to the nonconforming parts. The common options are:
- Rework. Bring the part fully back to the drawing using a normal process, such as re-machining an undersize feature that still has stock.
- Repair. Make the part usable, but not fully to the drawing, such as a weld repair or a bushing.
- Use as is. Accept the part with the nonconformance because it does not affect fit, form, or function.
- Return to supplier. Send purchased material or outside processed parts back to the vendor that caused the problem.
- Scrap. The part cannot be saved and is destroyed or clearly marked so it cannot be used.
Rework and scrap are usually internal decisions. Repair and use as is often need customer approval, especially in aerospace, defense, and medical work, because they mean shipping a part that does not fully match the drawing. Check the purchase order and the customer’s quality clauses before you decide, and keep the customer’s written approval with the NCR.
Step 3: Find the Root Cause
The question that matters is not who made the mistake. It is what allowed the mistake to happen. Common causes include a worn tool with no tool life limit, a program edited at the machine and not saved back, an old drawing revision, a gage out of calibration, or a fixture that lets the part move.
Ask why the part was wrong, then why that happened, and keep going until you reach something you can change. If the shop cannot say which gage measured the part or which drawing revision the operator had open, that is a finding in itself.
Step 4: Take Corrective Action and Close the Loop
Corrective action is the change that keeps the problem from coming back. It might be a tool life limit, a locked program, a new fixture, or a training session. Give each action an owner and a due date, then verify that it worked by checking the next run of the same part.
When the problem came from a supplier, the same idea applies outside your walls. A supplier corrective action request, often called a SCAR, asks the vendor to investigate and fix the cause on their side. Keep their response with the purchase order for the next time you choose a vendor.
Common NCR Mistakes
- Writing “out of tolerance” without the requirement or the measured value.
- Fixing the part and skipping the record because the fix was easy.
- Shipping parts with a use as is disposition without the customer’s approval.
- Stopping at “operator error” instead of finding what allowed the error.
- Keeping NCRs in a separate binder or spreadsheet that is not linked to the job.
- Never reviewing NCRs together, so repeat problems on the same part or machine go unnoticed.
Once a month, review NCRs by part number, machine, and supplier. Repeat names show where a process change will pay off. Problems found at first article are covered in our first article inspection guide.
How ShopXpert Helps With Nonconformance Reports
ShopXpert has been building shop management software for machine shops since 2020, and its quality records live in the same system as jobs, suppliers, and tools. With ShopXpert you can:
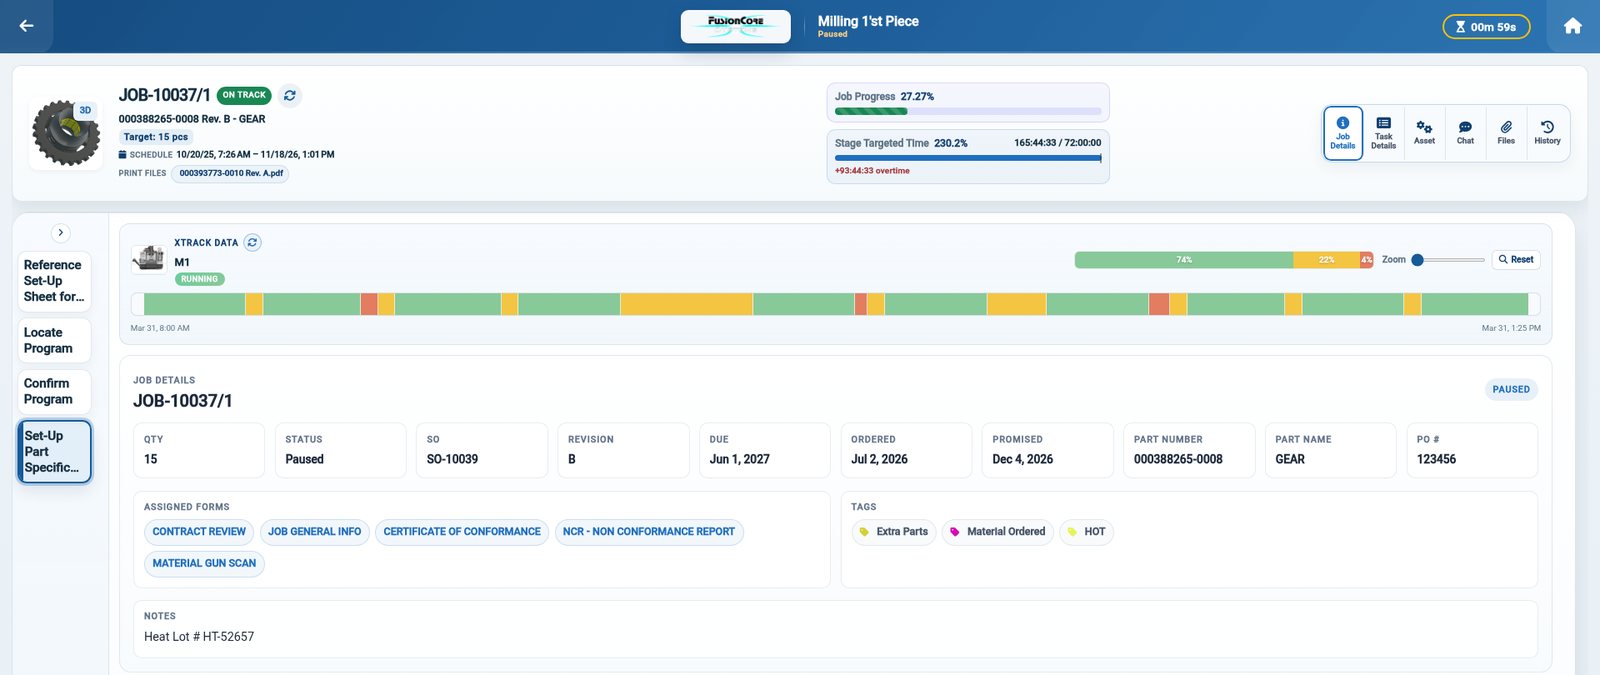
- Build your own NCR form. The drag-and-drop form builder creates nonconformance reports alongside first article, in-process, and final inspection forms, with pass/fail checks, number fields for measurements, photos, tables, and signatures.
- Attach the form to the work. Forms are attached to the job, purchase order, or task they belong to, so the NCR stays with the job record instead of a separate binder.
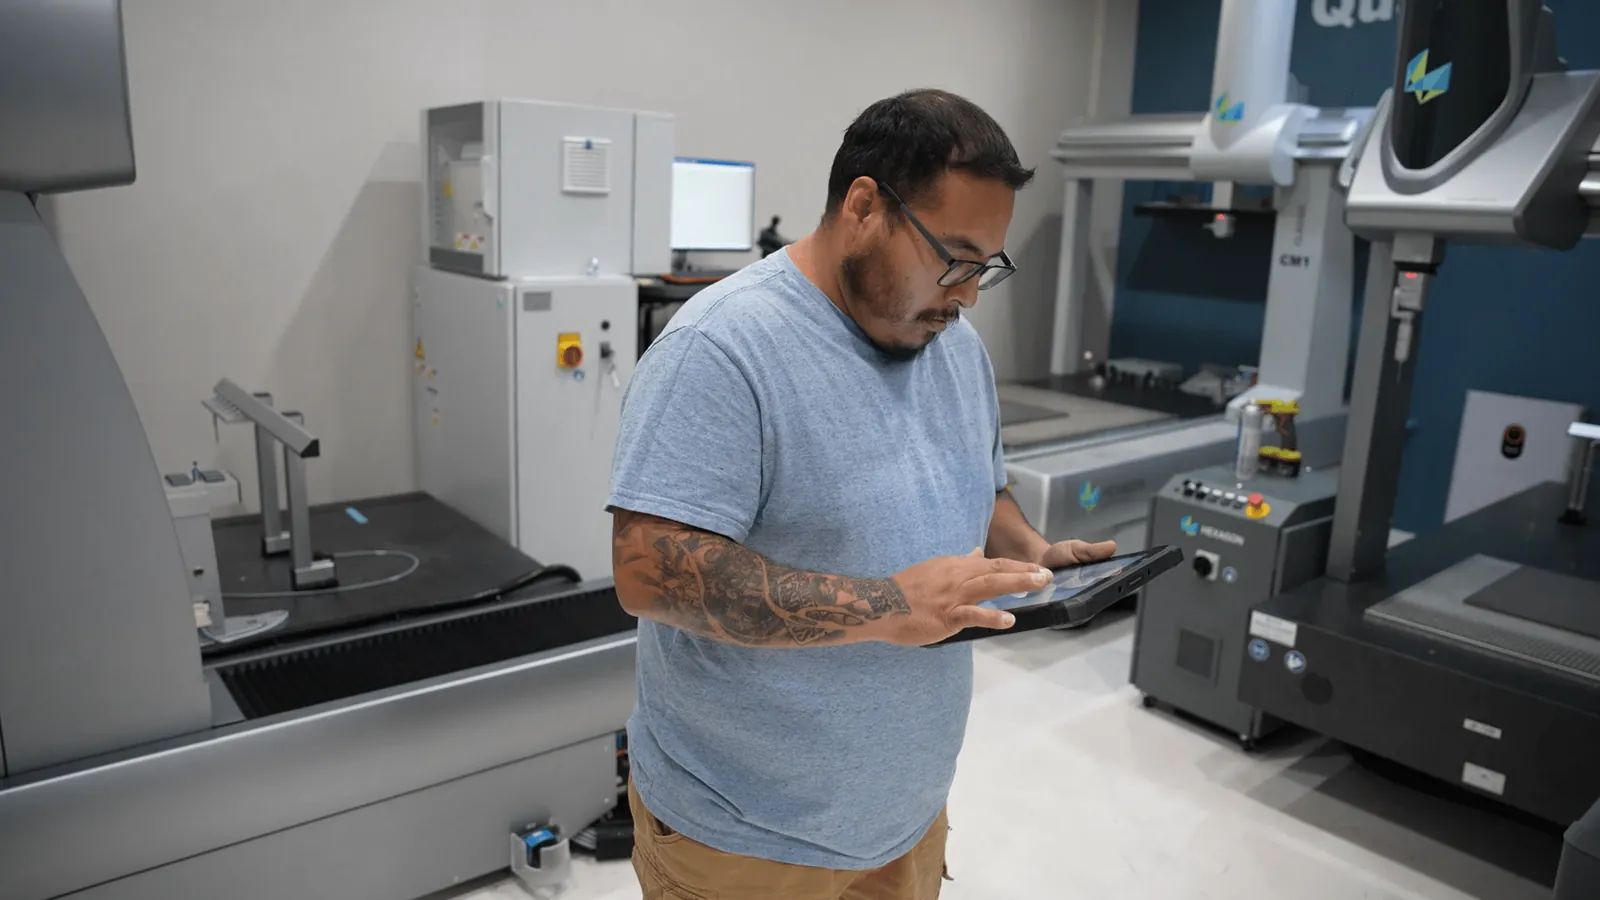
- Record results on the floor. Inspectors fill in inspection forms and open drawings on the waterproof tablet next to the CMM or the part, and results sync to ShopXpert as they are entered.
- Trace the gage. Tools checked out of the ShopXpert vending system are linked to the employee and the job, and calibration history and reminders live on each tool.
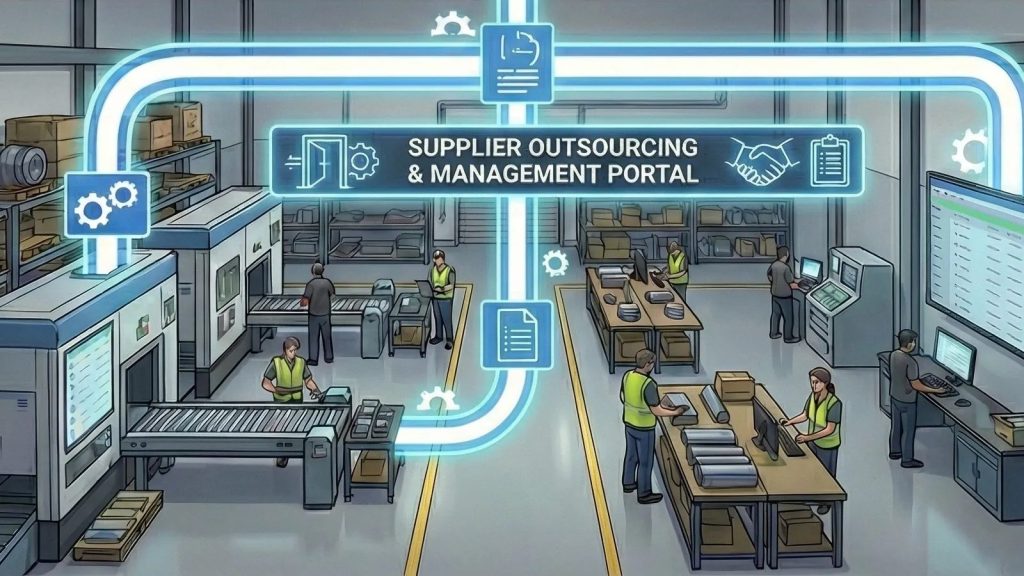
- Follow up with suppliers. Supplier audits, SCARs, and deviation requests are tracked with the supplier, and suppliers can fill in your forms through the Supplier Portal.
See how inspection forms, tool traceability, and calibration work together on the ShopXpert quality and traceability page. The shop floor production tour shows the inspection tablet, supplier and outsource management covers SCAR and deviation request tracking, and the aerospace manufacturing page shows how non-conformances are managed against the job.
Make Every Bad Part a Record You Can Use
Bring one of your recent NCRs, paper or spreadsheet, and we will show you how ShopXpert would capture it, attach it to the job, and track it to closure. Book a ShopXpert demo.